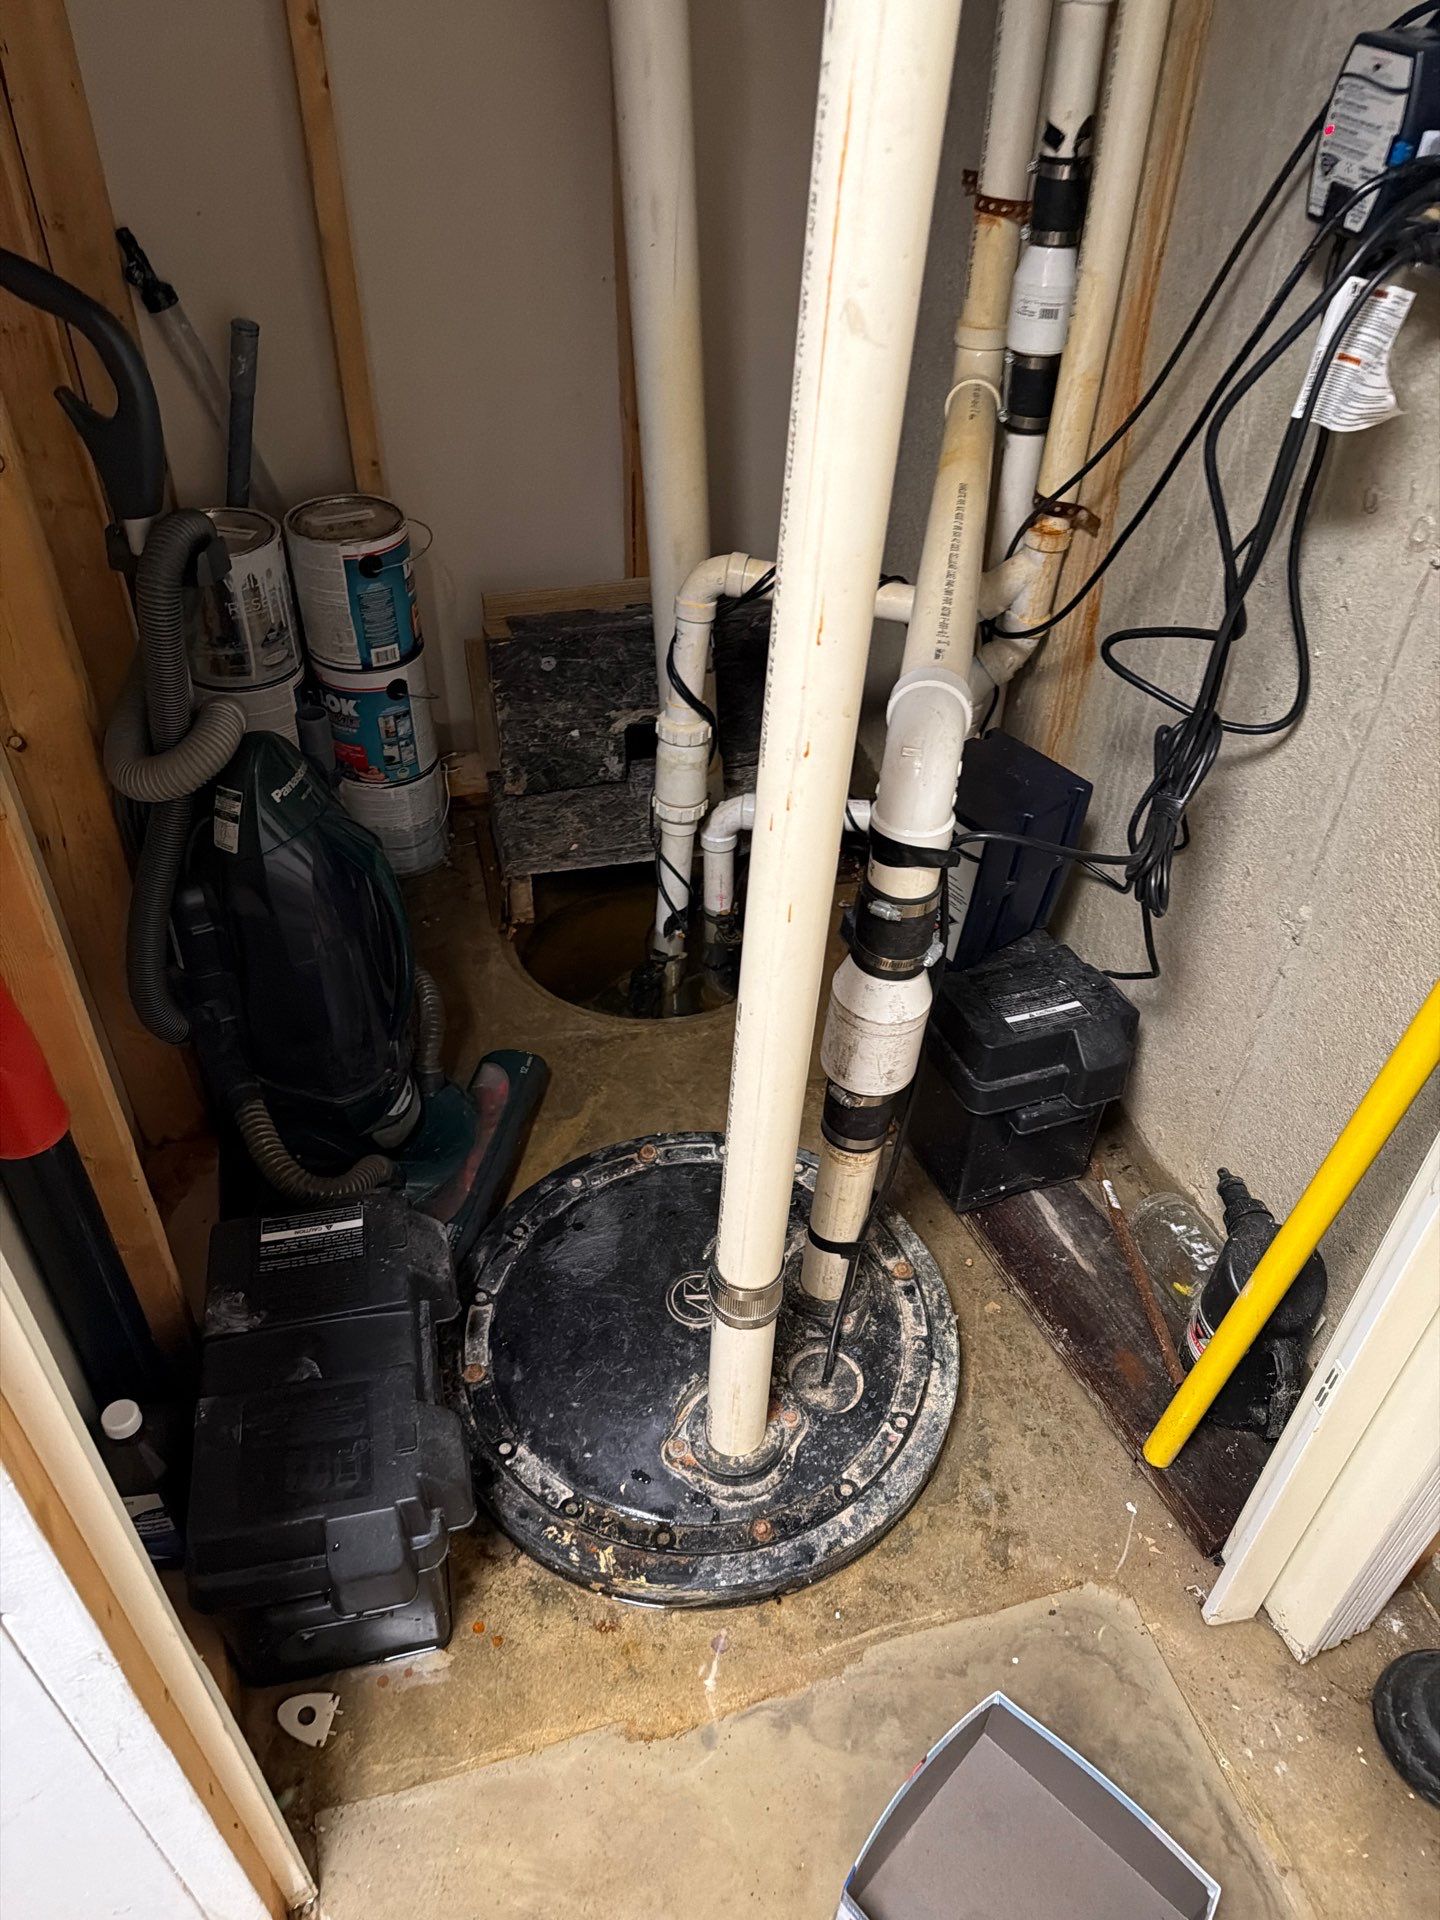
Step 1: Stop the Water Source (0 to 5 Minutes)
- Shut off the main water valve. In most Allisonville homes, it sits near the front foundation wall or next to the water meter.
- For appliance leaks, close the local supply valve (1/4 turn ball valve or multi turn gate valve behind the unit).
- For roof or storm intrusion, skip to Step 2. You cannot stop rain.
- Photograph the source before any cleanup. Insurance adjusters require origin documentation.
- If the main valve is corroded or stuck, call your municipal water department for a curb stop shutoff. Do not force a seized valve, as a broken stem releases full line pressure.
- Tag the valve location after the incident with a zip tie or paint mark. The next emergency moves faster when every adult in the home knows the exact spot.
Step 2: Kill the Power to Affected Zones (5 to 10 Minutes)
- At the breaker panel, shut off circuits feeding any room with standing water.
- Do not stand in water while operating the panel. If the panel is in a wet basement, call your utility for a service disconnect.
- Verify outlets are dead with a non contact voltage tester before stepping into water.
- Unplug electronics on dry circuits as well. Voltage surges are common when crews restore power after partial outages.
- Label any breaker you turn off with painter's tape. Restoration techs need to know which circuits are isolated before running equipment.
Step 9: Apply Antimicrobial and Reassemble (Day 5 to Day 10)
- Apply an EPA-registered antimicrobial (botanical or quaternary ammonium) to all surfaces that contacted Category 2 water. Follow the label dwell time, typically 10 minutes.
- Do not reinstall insulation, drywall, or baseboards until two consecutive dry readings 24 hours apart confirm the dry standard.
- Replace carpet pad with new material. Reinstalled carpet should be cleaned and re stretched, not just dropped back into place.
- Prime exposed framing with a stain blocking sealer before closing walls. This locks down any residual tannins or spore fragments.
Step 3: Classify the Water (10 to 20 Minutes)
- Category 1 (clean): supply line, ice maker, water heater intake. Safe to handle with gloves.
- Category 2 (grey): dishwasher discharge, washing machine drain, aquarium. Requires N95, gloves, and eye protection.
- Category 3 (black): sewage, toilet overflow with feces, groundwater, flood water. Stop. This requires professional containment per IICRC S500. Review the category 1 vs 2 vs 3 breakdown before proceeding.
- Category 1 water degrades to Category 2 within 24 to 48 hours once it contacts building materials, dust, and biofilm. Time alters classification, not just source.
- Document the category in writing with timestamps. Adjusters use this to approve PPE billing and antimicrobial application charges.
Step 5: Remove Wet Materials (1 to 6 Hours)
- Pull up carpet pad immediately. Pad acts as a sponge and almost never dries in place. Replacement cost runs $0.50 to $1.50 per square foot.
- Cut drywall 2 inches above the visible water line if wet for under 24 hours. Cut 12 to 24 inches above if wet for longer.
- Remove baseboards with a pry bar and 5-in-1 tool. Label each piece if you plan to reinstall.
- Bag and document every removed item. Insurance reimburses what you can prove.
- Detach insulation behind cut drywall sections. Fiberglass batting holds water for weeks and loses R-value permanently once saturated.
- Score paint along the cut line with a utility knife before pulling drywall. This prevents paper tearing on the section that stays in place.
Step 7: Set Drying Equipment (24 to 120 Hours)
- Air movers: 1 unit per 10 to 16 linear feet of wall, angled at 15 to 45 degrees toward the wet surface.
- Dehumidifiers: target 30 to 50 pints per day per 500 square feet of affected area. Standard household units (30 pint) cannot keep up with active drying.
- Maintain 60 to 80 degrees Fahrenheit and under 40% relative humidity.
- Run continuously. Cycling equipment off resets drying progress.
- Drain dehumidifiers via a gravity hose to a floor drain or sump pit. Hand emptying buckets every 4 hours guarantees missed cycles overnight.
- Position air movers in a counterclockwise circulation pattern in each room. Stagnant air pockets behind furniture extend dry times by 24 to 48 hours.
Step 4: Extract Standing Water (20 Minutes to 4 Hours)
- For volumes under 1 gallon, use towels and a mop.
- For volumes 1 to 50 gallons, use a wet dry vac with minimum 6-gallon tank and 5.0 peak HP motor.
- For volumes over 50 gallons or any depth above 1 inch across more than 100 square feet, stop. truck mounted extractors pull 100+ gallons per hour at 200+ inches of water lift. A shop vac cannot match this.
- Empty the vac outside, never down a household drain that may share the affected zone.
- Work from the perimeter toward the center to push water away from wall cavities and into open floor space where extraction is faster.
Step 8: Verify Dry Standard (Day 3 to Day 7)
- Drywall must read within 1% WME of an unaffected reference wall in the same building.
- Wood subfloor must reach under 16% MC.
- Concrete must reach under 4% MC by calcium chloride test or under 75% RH by in situ probe.
- If readings stall for 48 hours, equipment is undersized or hidden moisture exists behind a vapor barrier.
- Recheck cavity moisture with a thermo hygrometer probe through a 3/16 inch hole drilled at the base of the wall. Surface meters miss trapped moisture behind paint and primer.
Step 6: Measure Moisture (Continuous)
- Use a pin type moisture meter on wood (target: under 16% MC) and a non invasive meter on drywall (target: under 1% WME).
- Test 6 points per affected room: 4 walls at 12 inches and 36 inches above the floor, plus 2 floor points.
- Log readings every 12 hours. Without a meter, you are guessing. Guessing is how mold colonies establish within 48 hours.
- Always record a dry reference reading from an unaffected room of the same construction. Without a baseline, the target values mean nothing.
When DIY Stops and Professional Service Starts
Call a restoration contractor immediately if any of the following apply:
- Water depth exceeded 1 inch across more than 100 square feet.
- Source is Category 3 (sewage, groundwater, flood).
- Drying has stalled past 72 hours.
- Hardwood floors are cupping or crowning.
- You smell musty odor (microbial volatile organic compounds, present before visible mold).
- HVAC ductwork was contaminated.
- Insurance is involved and you need IICRC-compliant documentation.
- The affected area includes finished ceilings below a wet floor above.
- You lack a calibrated moisture meter and cannot verify dry standard.
Allisonville Water Restoration dispatches IICRC certified crews across Allisonville in most cases within 2 hours. We carry truck mounted extractors, LGR dehumidifiers, and thermal imaging cameras that locate moisture behind walls without demolition. For insurance claims, our documentation follows the standards outlined in our water damage insurance claim guide, which adjusters in Indiana recognize and process faster.